I woke up this morning with way too much to do and way too many things in my head. But first I needed to deal with the most urgent situation: the pH of the lower soil/compost in my raised bed was down to 3.3.
Yesterday I tried to raise the pH by adding hardwood ash from my fireplace. After that attempt, I decided I needed to take more drastic measures.
The rain barrel
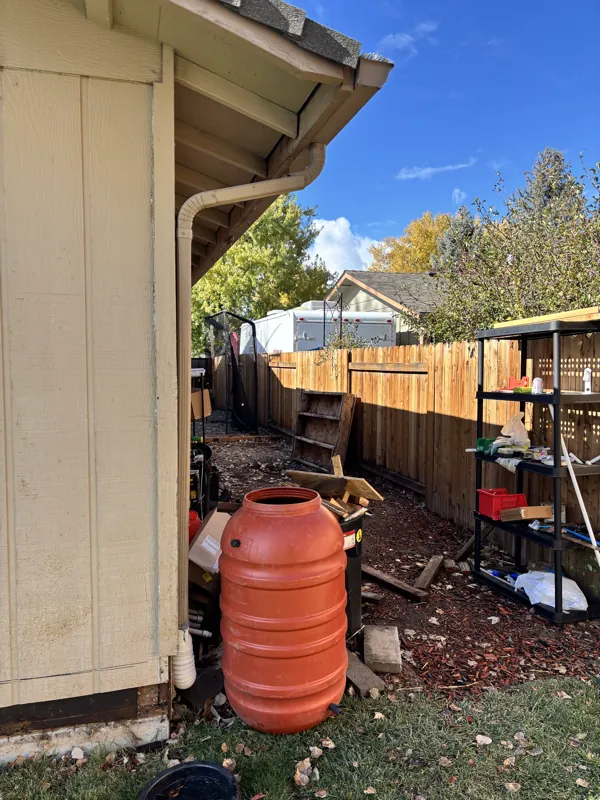
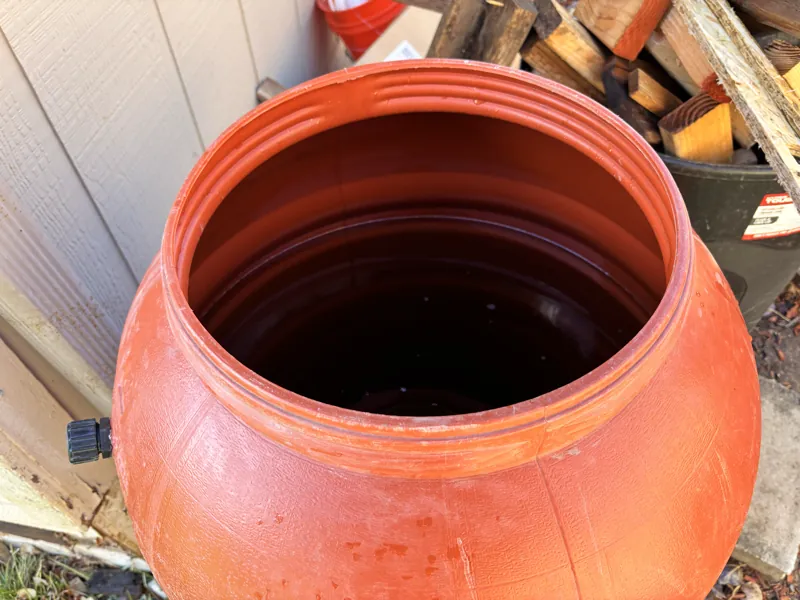
I came out and saw the rain barrel, and to my surprise it was almost full.
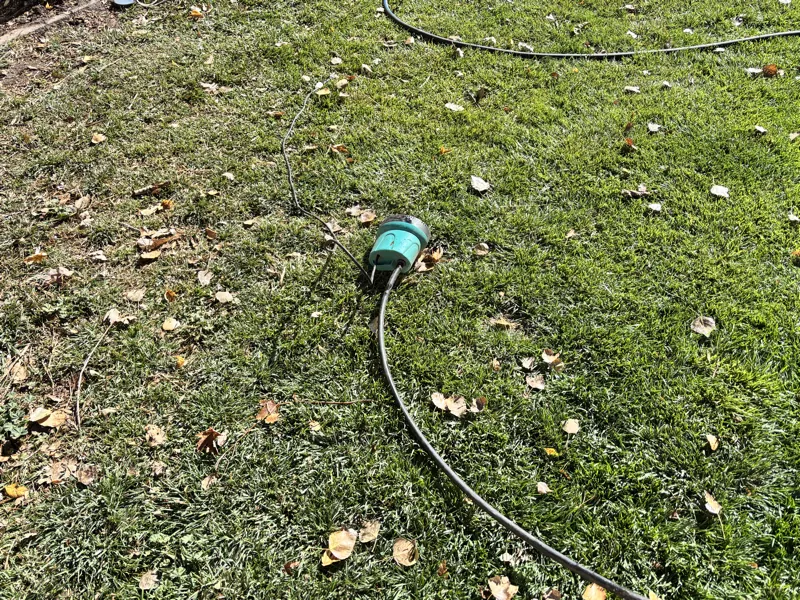
This is the bilge pump I'm using to mix the solution and to water the compost pile and my raised bed, which is composting too.
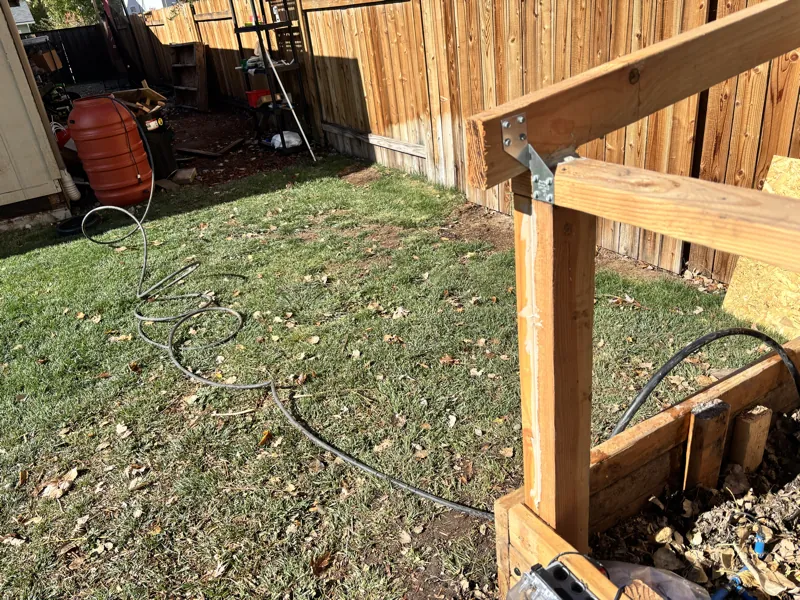
The line reaches all the way into my raised bed.
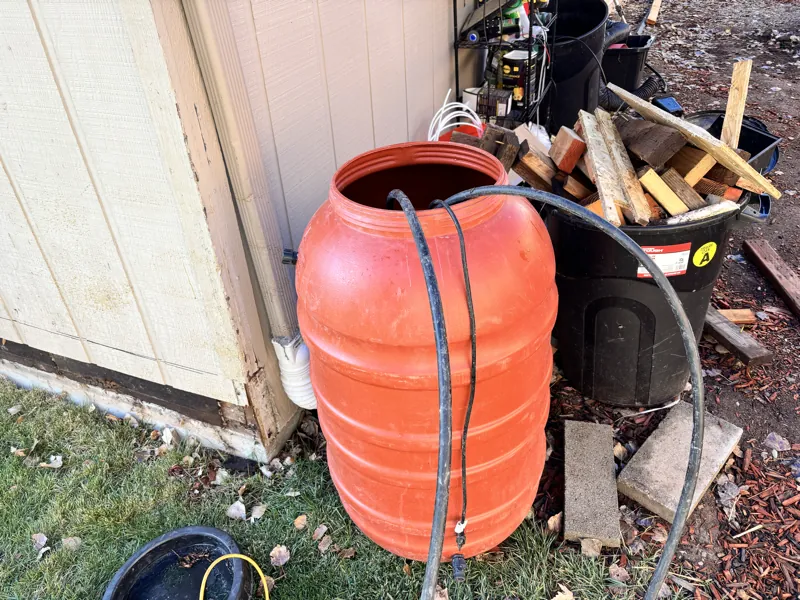
I put the line back into the barrel so the pump circulates the solution.
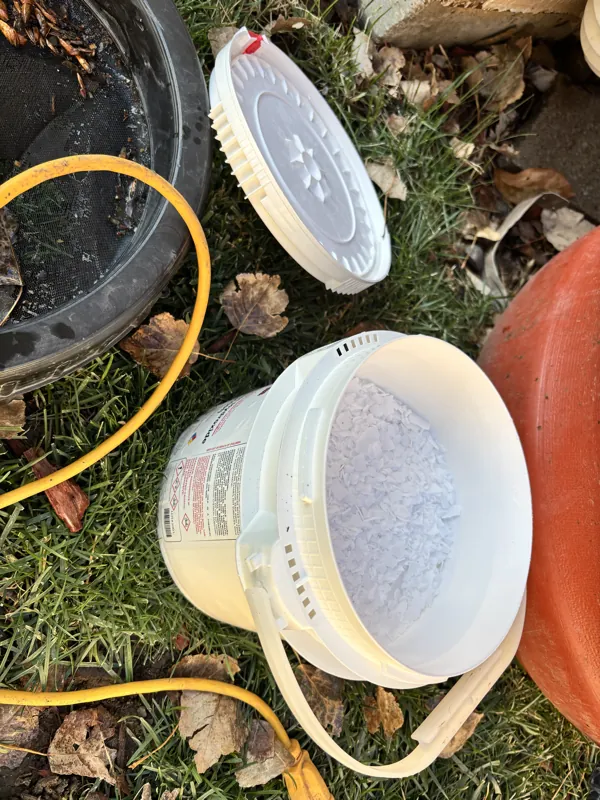
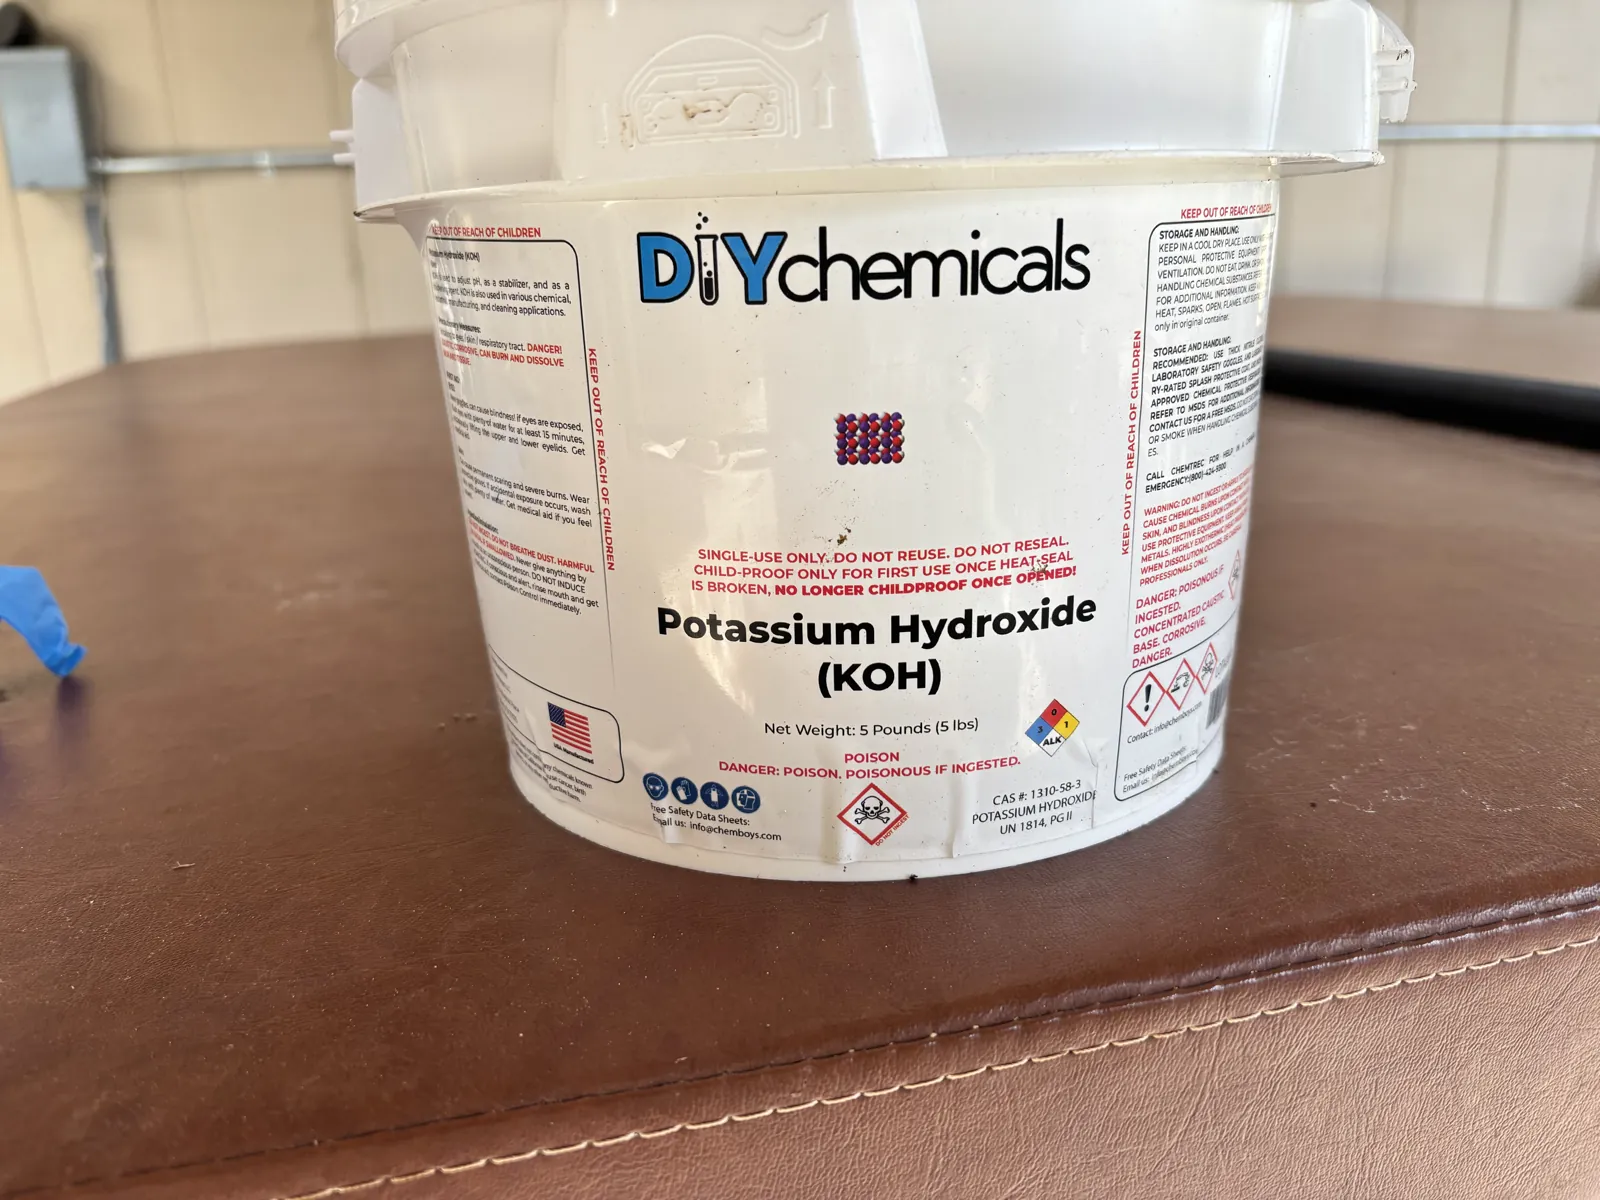
This is what the KOH looks like. I added about 1/5 of a 12 oz water bottle full of the flakes to the barrel.
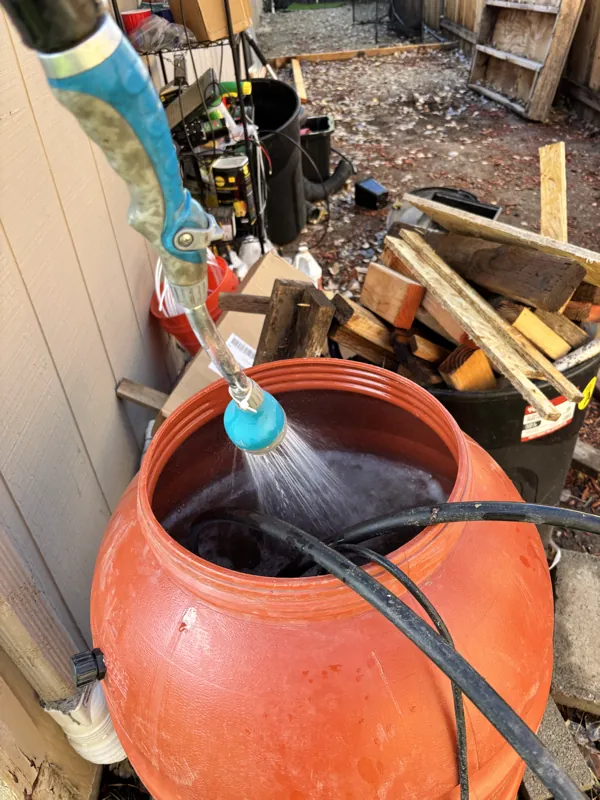
I also added some of my well water, which is high in alkalinity.
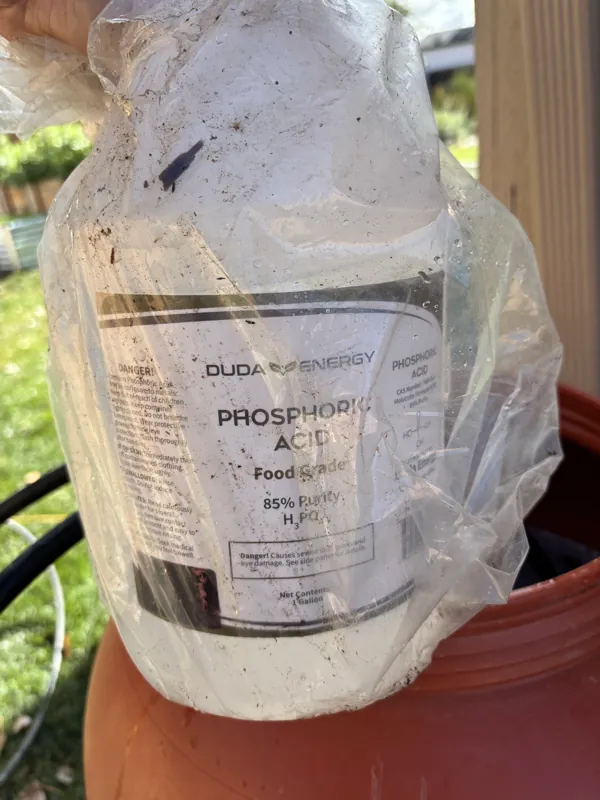
To help buffer it at first, I used 85% phosphoric acid.
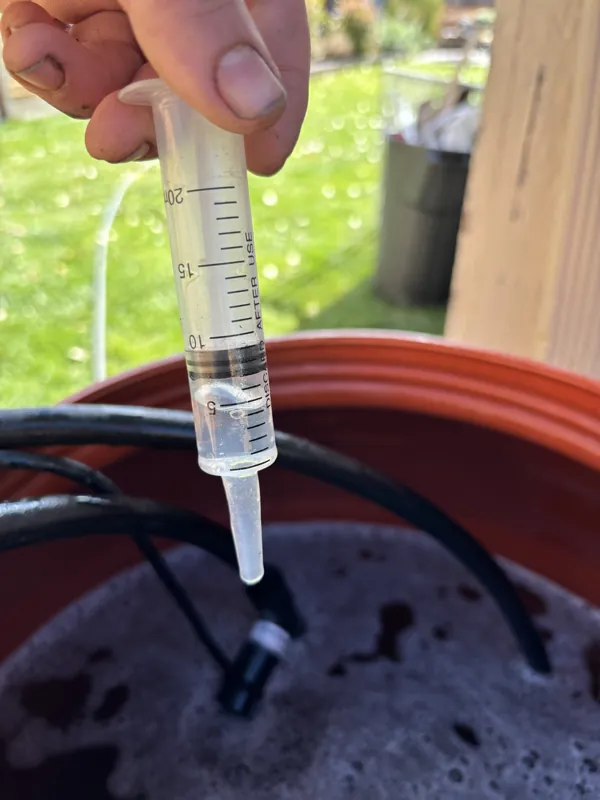
I used 5 mL of it to balance and buffer the pH to 10.
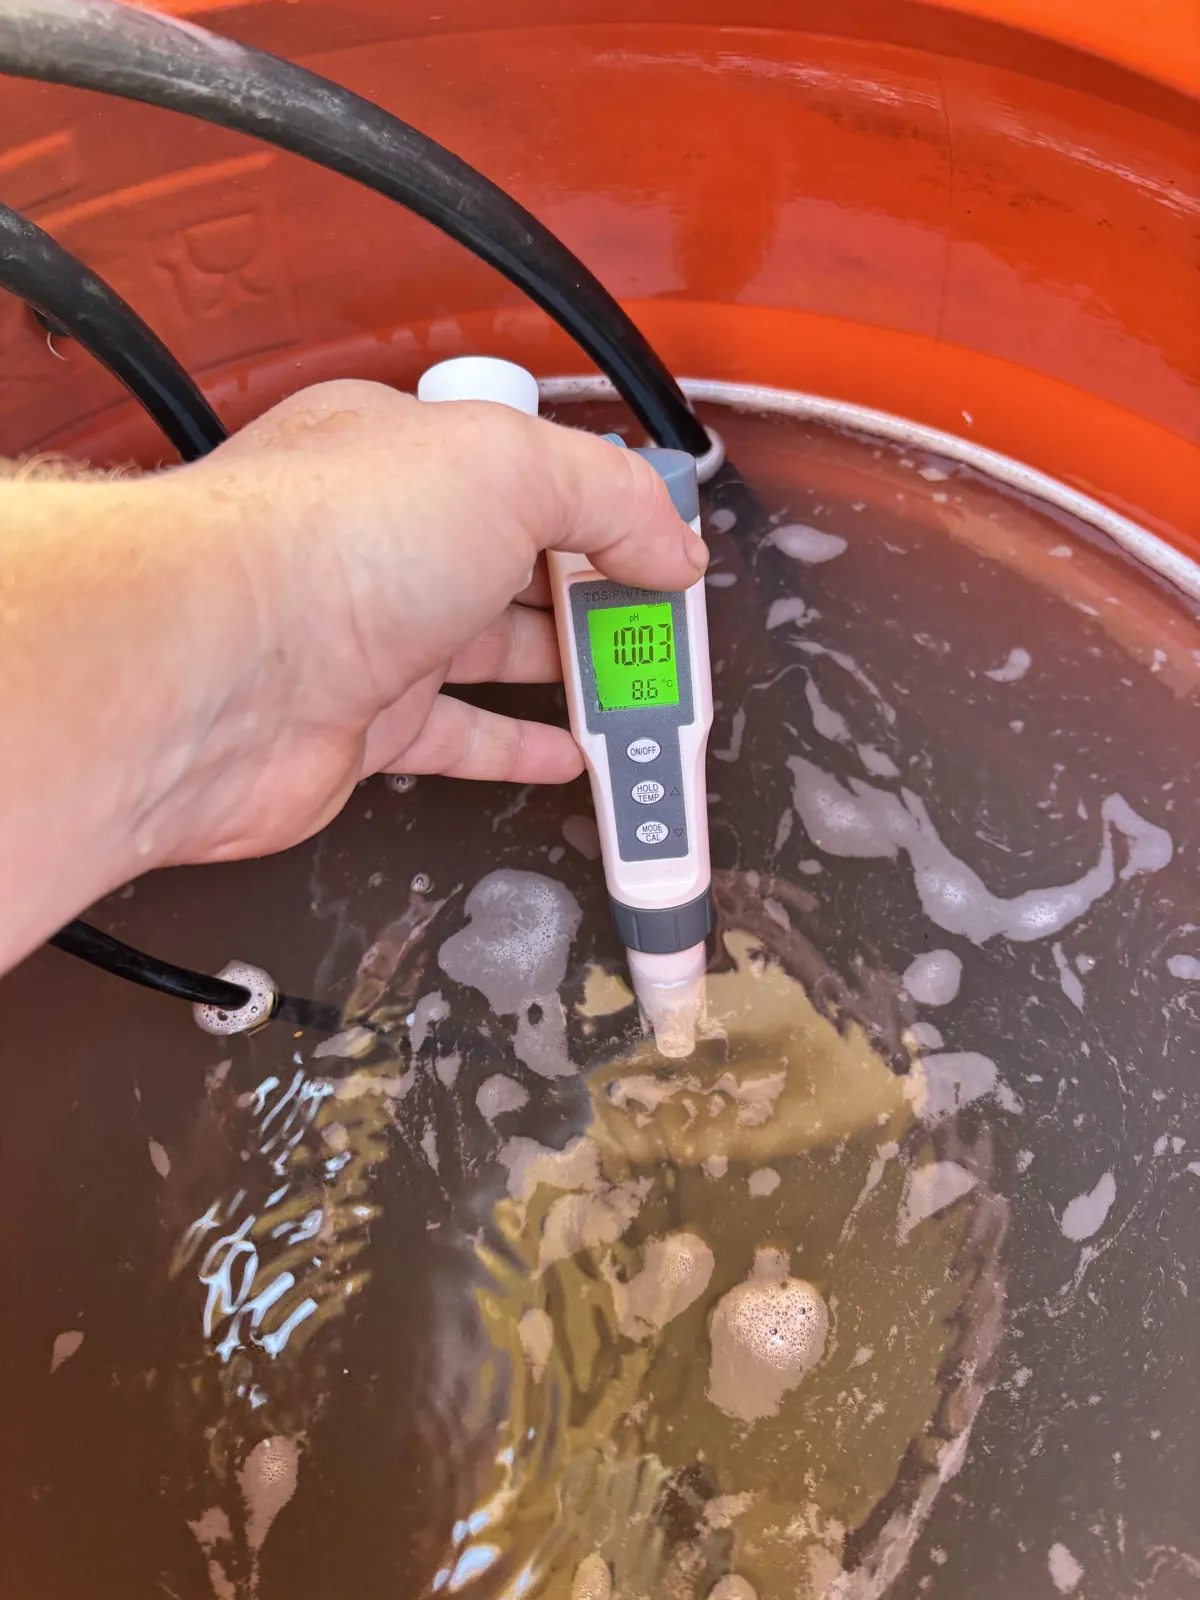
Watering
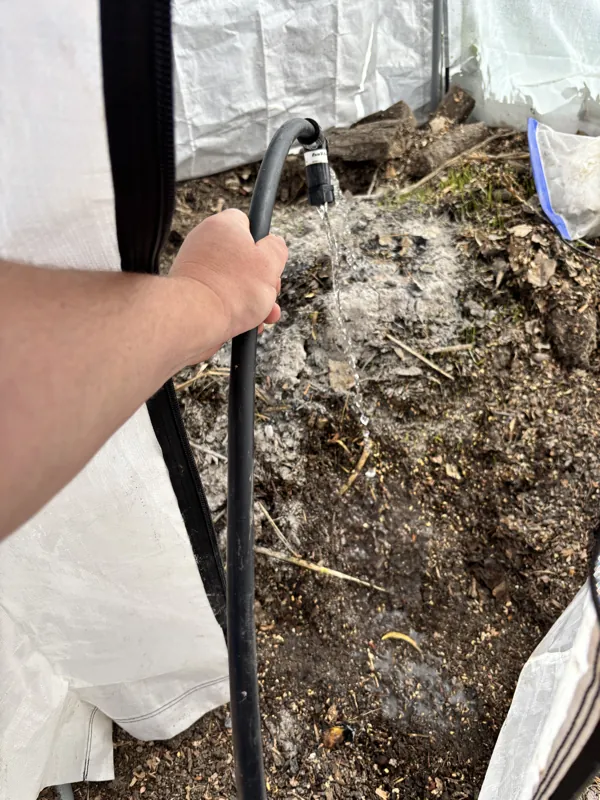
I watered the raised bed first, then the compost pile.
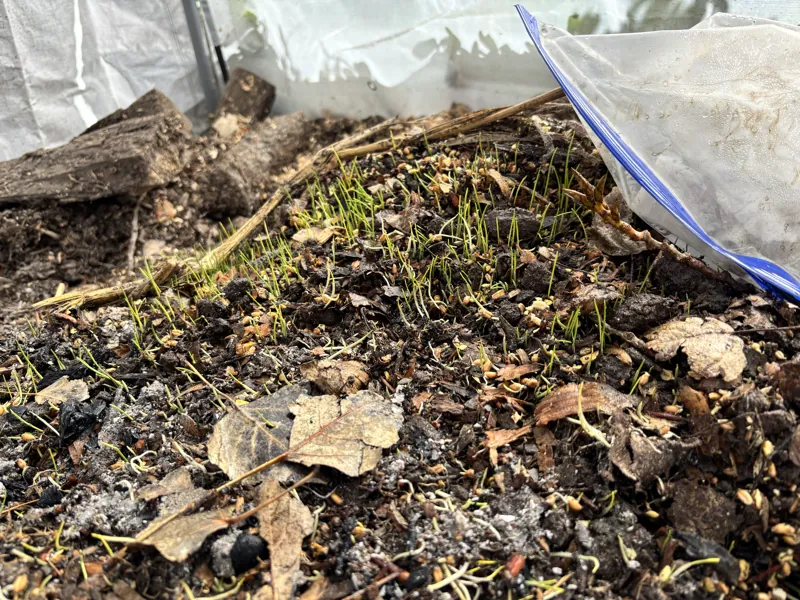
The sprouts are milo seeds. I had meant to compost them, but I added them to see whether they would survive the pH 10 water.
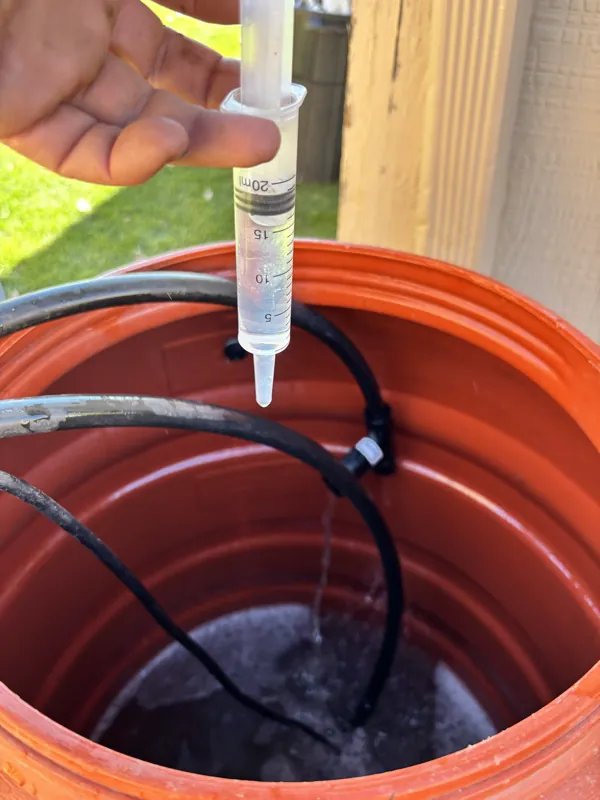
After that I added 15 mL more phosphoric acid to balance the pH of what was left in the barrel, so I can use it later for fertilization water.
Cabinet doors for the raised bed
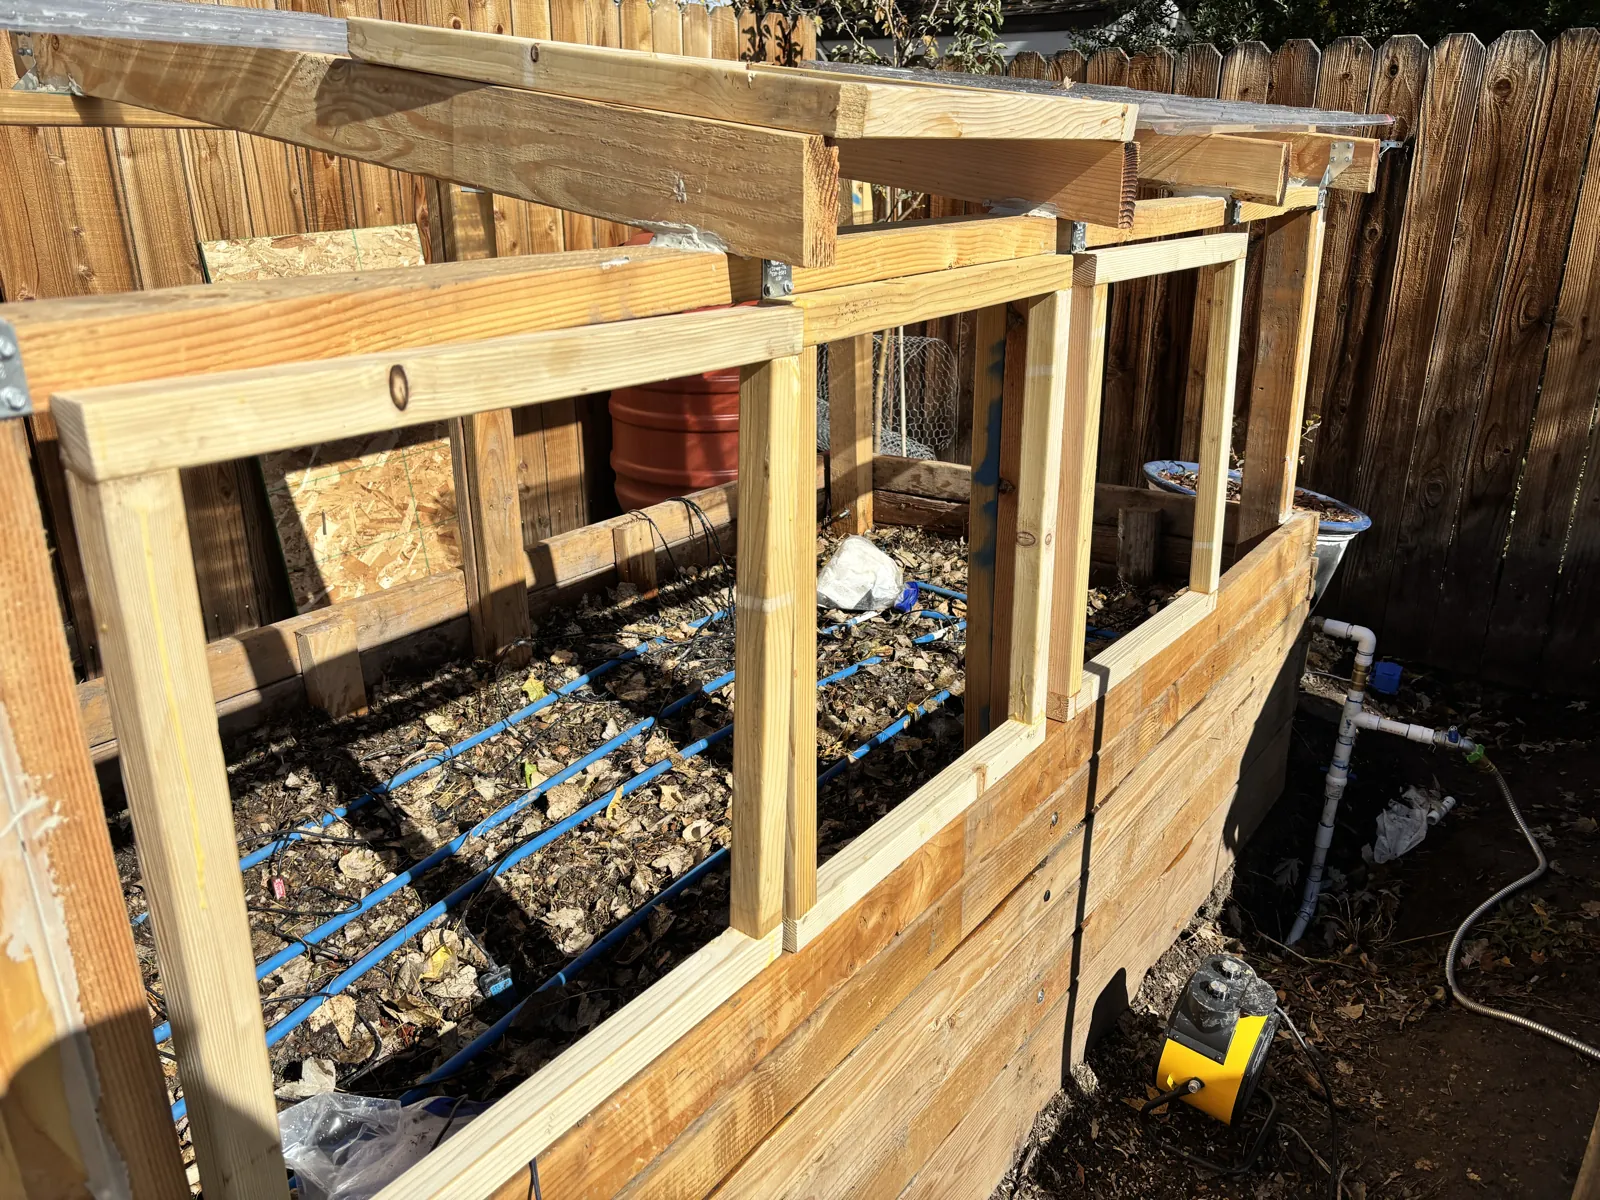
I just made the cabinet doors for the raised bed. This shows what the frames look like and what the bed is going to look like.
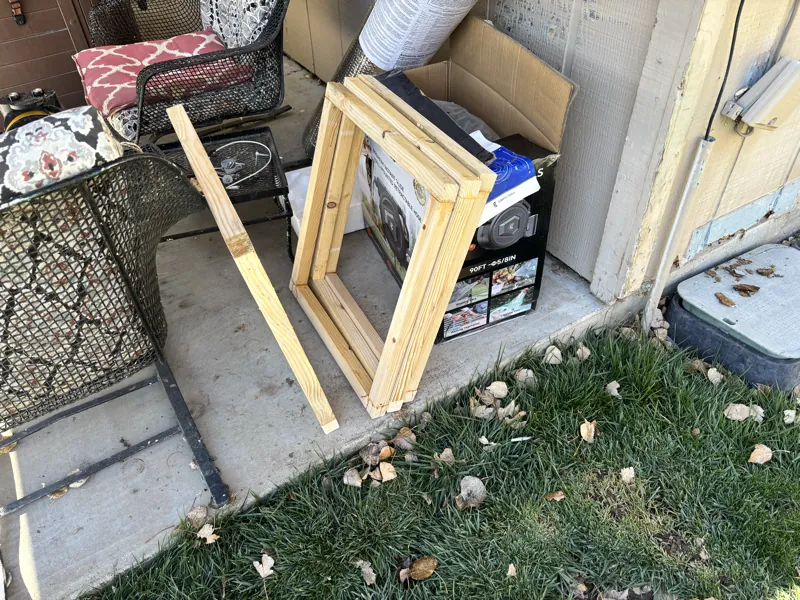
These are the cabinet doors I've made so far. One of them wasn't made with the right size wood, so I only have 3 good ones. I have to make another one today.
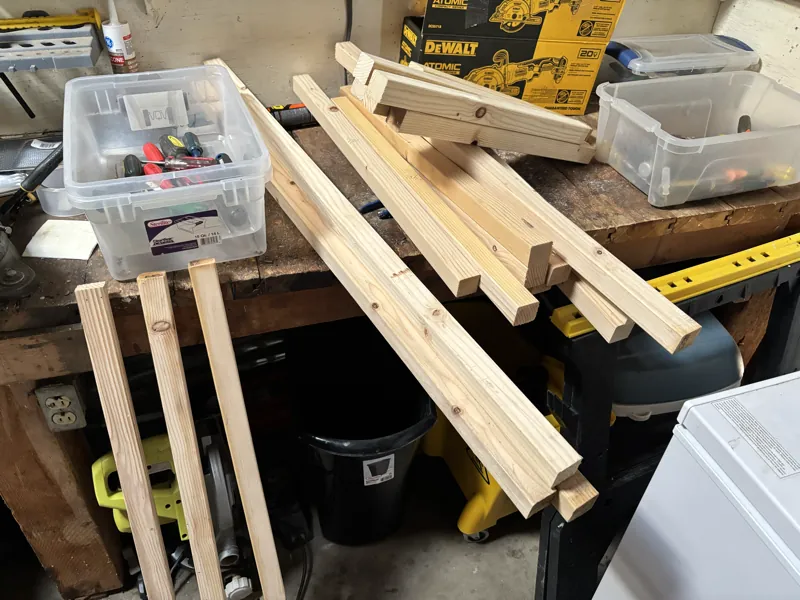
I've precut all the wood to make the cabinet frames for the raised bed.
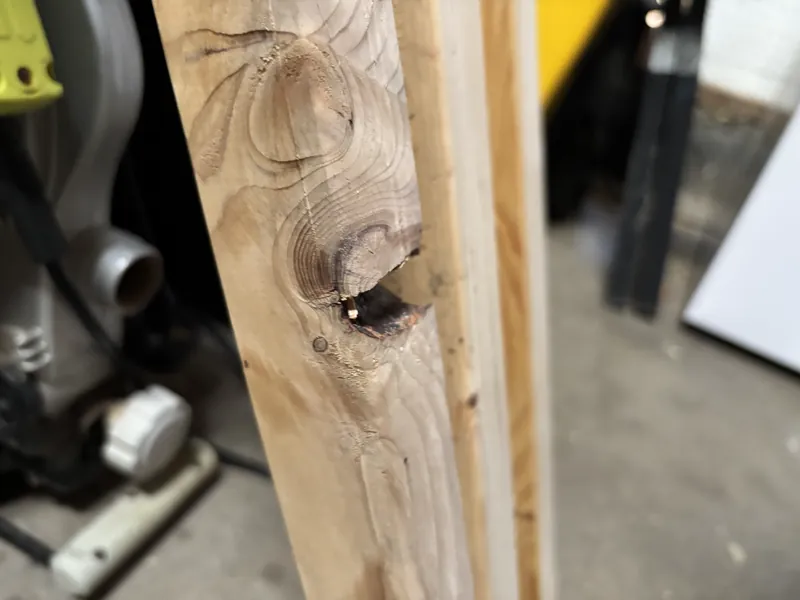
There are gaps I have to fill with wood putty later.
Electricity all around the bed
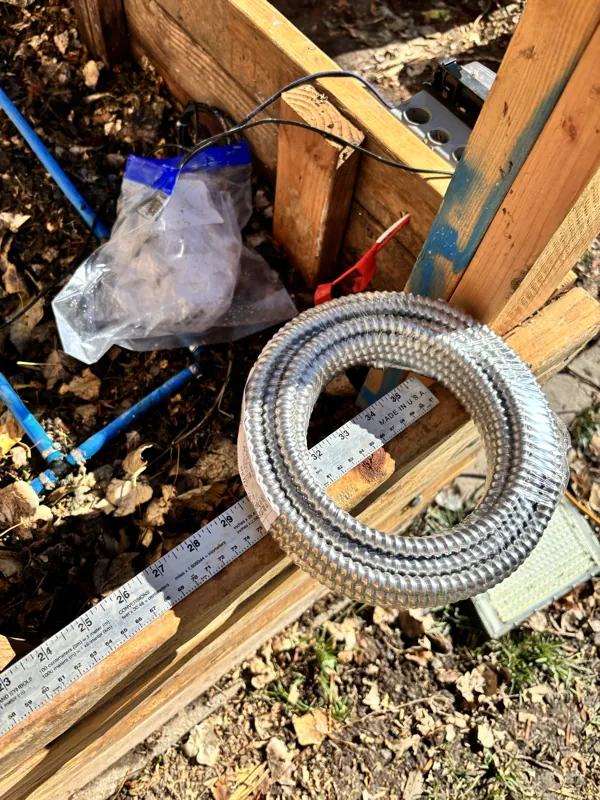
This is the 120V 14/2 wire I'm going to have to run around the bed, so I have access to 110V electricity all around the bed.
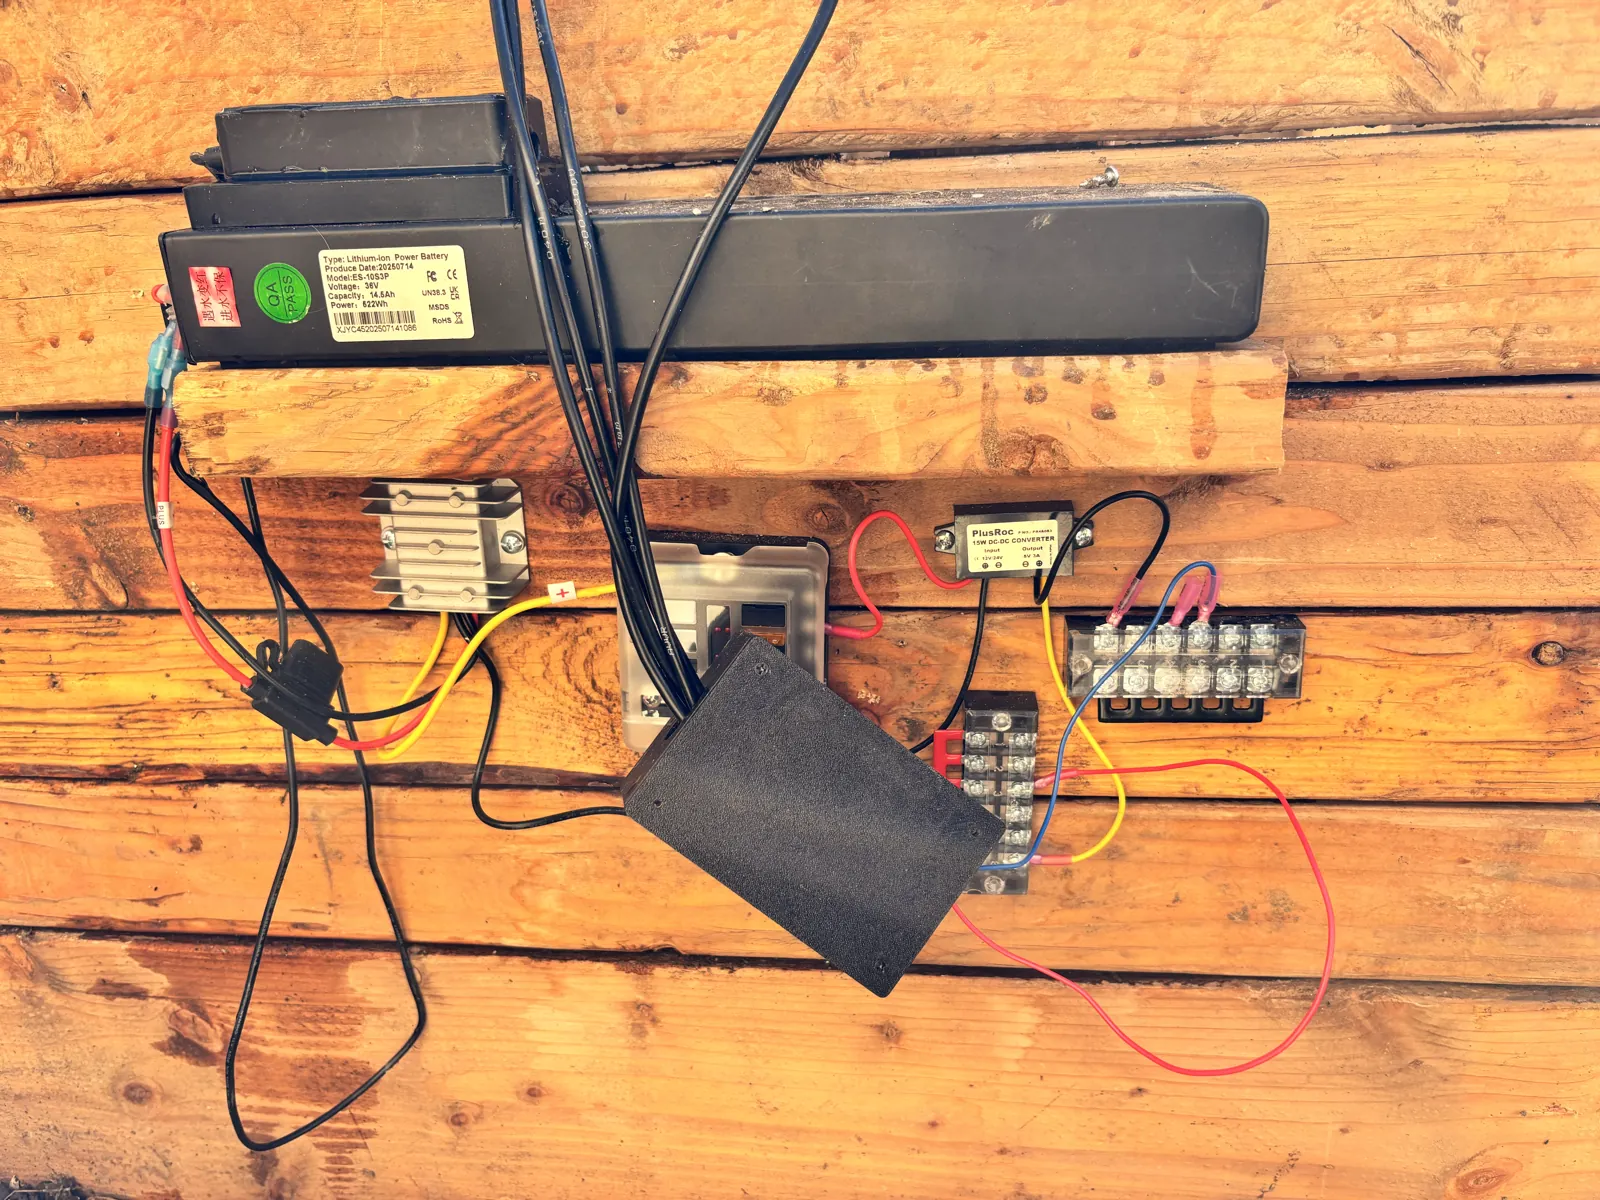
This is my 5V and 12V rail power setup. It starts with the scooter battery on top. The silver buck takes the 36V from the battery and brings it down to 12V. The 12V then goes to the 12V panel/rail, which is covered by the bed probe computer case.
The smaller buck below the battery, to the right, takes 12V down to 5V. The two rails next to it are + and − for the 5V.
The radiator
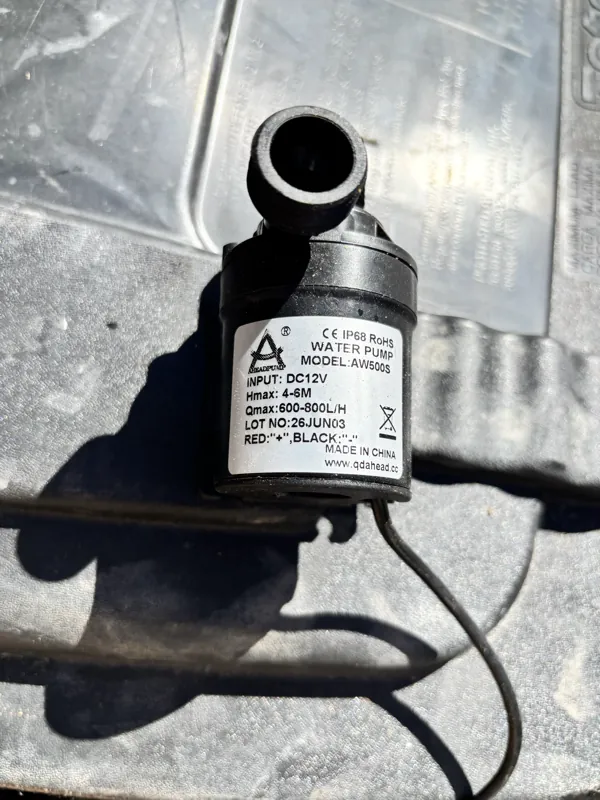
This is the pump I'm going to use to circulate water into my raised bed through the radiator.
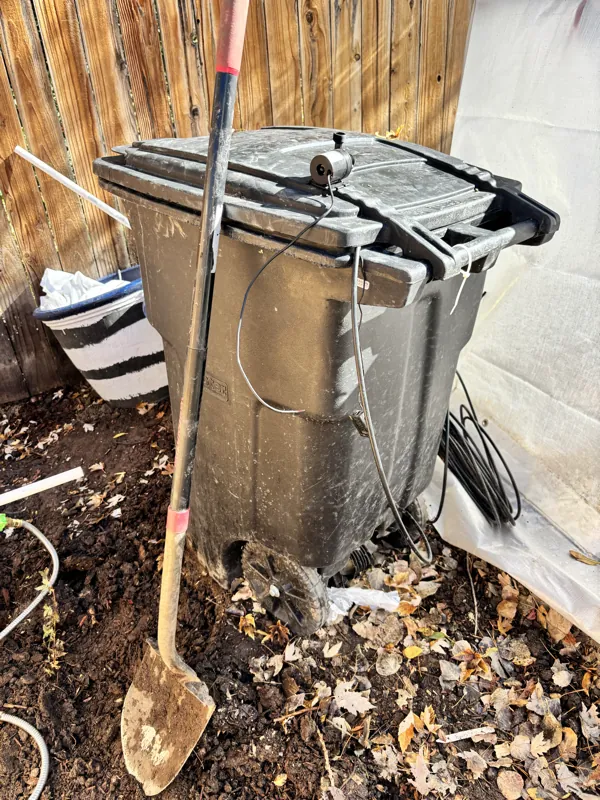
This is the reservoir I'm going to use for the radiator water.
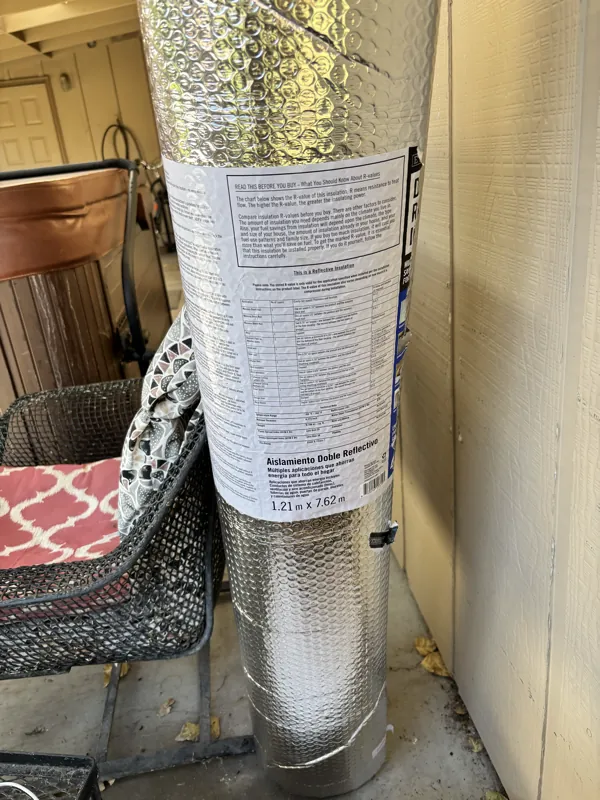
This is the insulation I'm going to use around the reservoir.
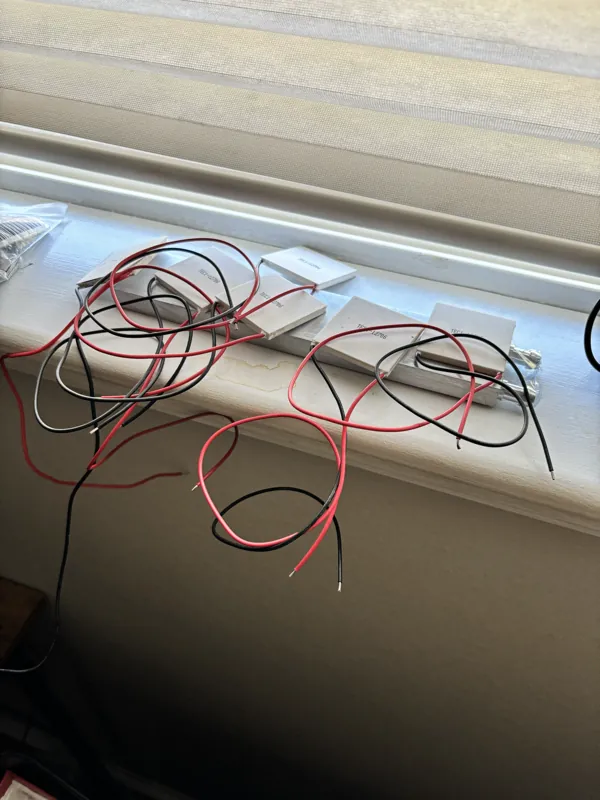
This is the Peltier heater setup I plan to use to heat the radiator. That's another thing I need to do.
The MCU box
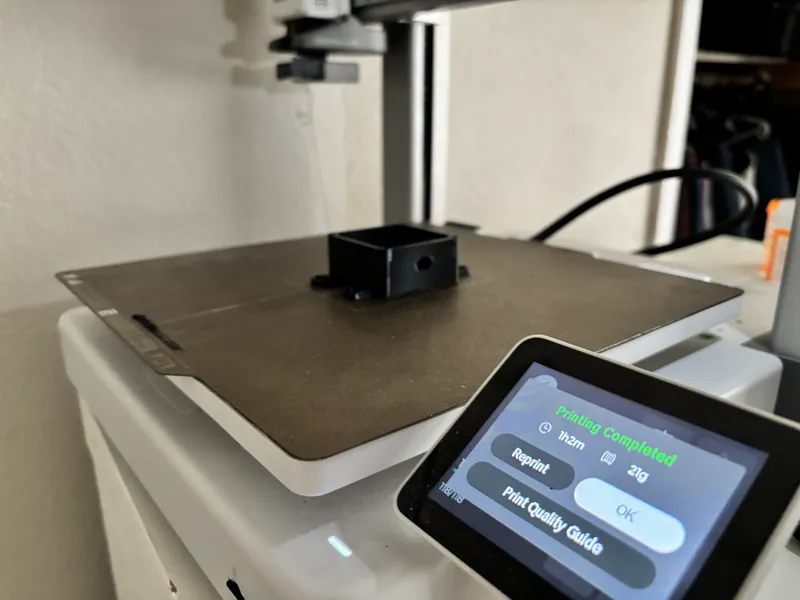
This is the 3D-printed MCU box I just made, right as it came off the printer.
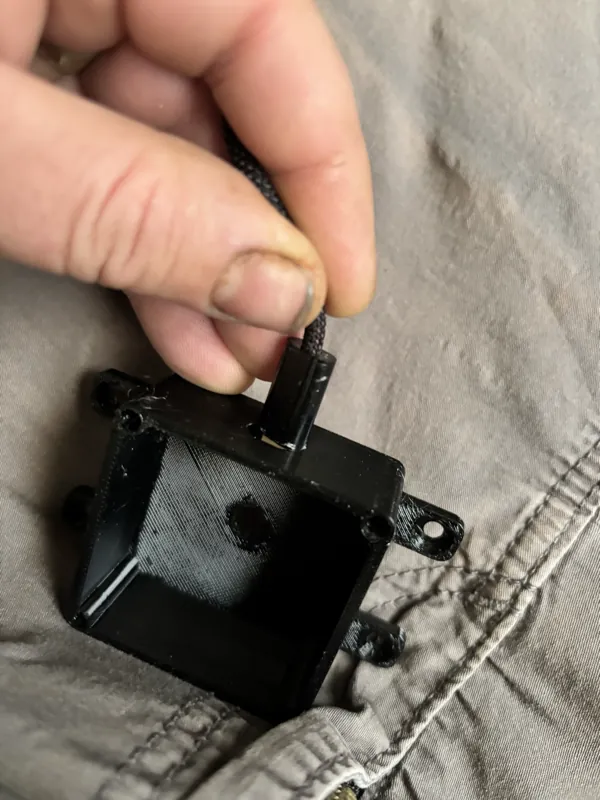
It wasn't sized properly: the hole was too small for the USB power cable to fit into. So I made the hole bigger.
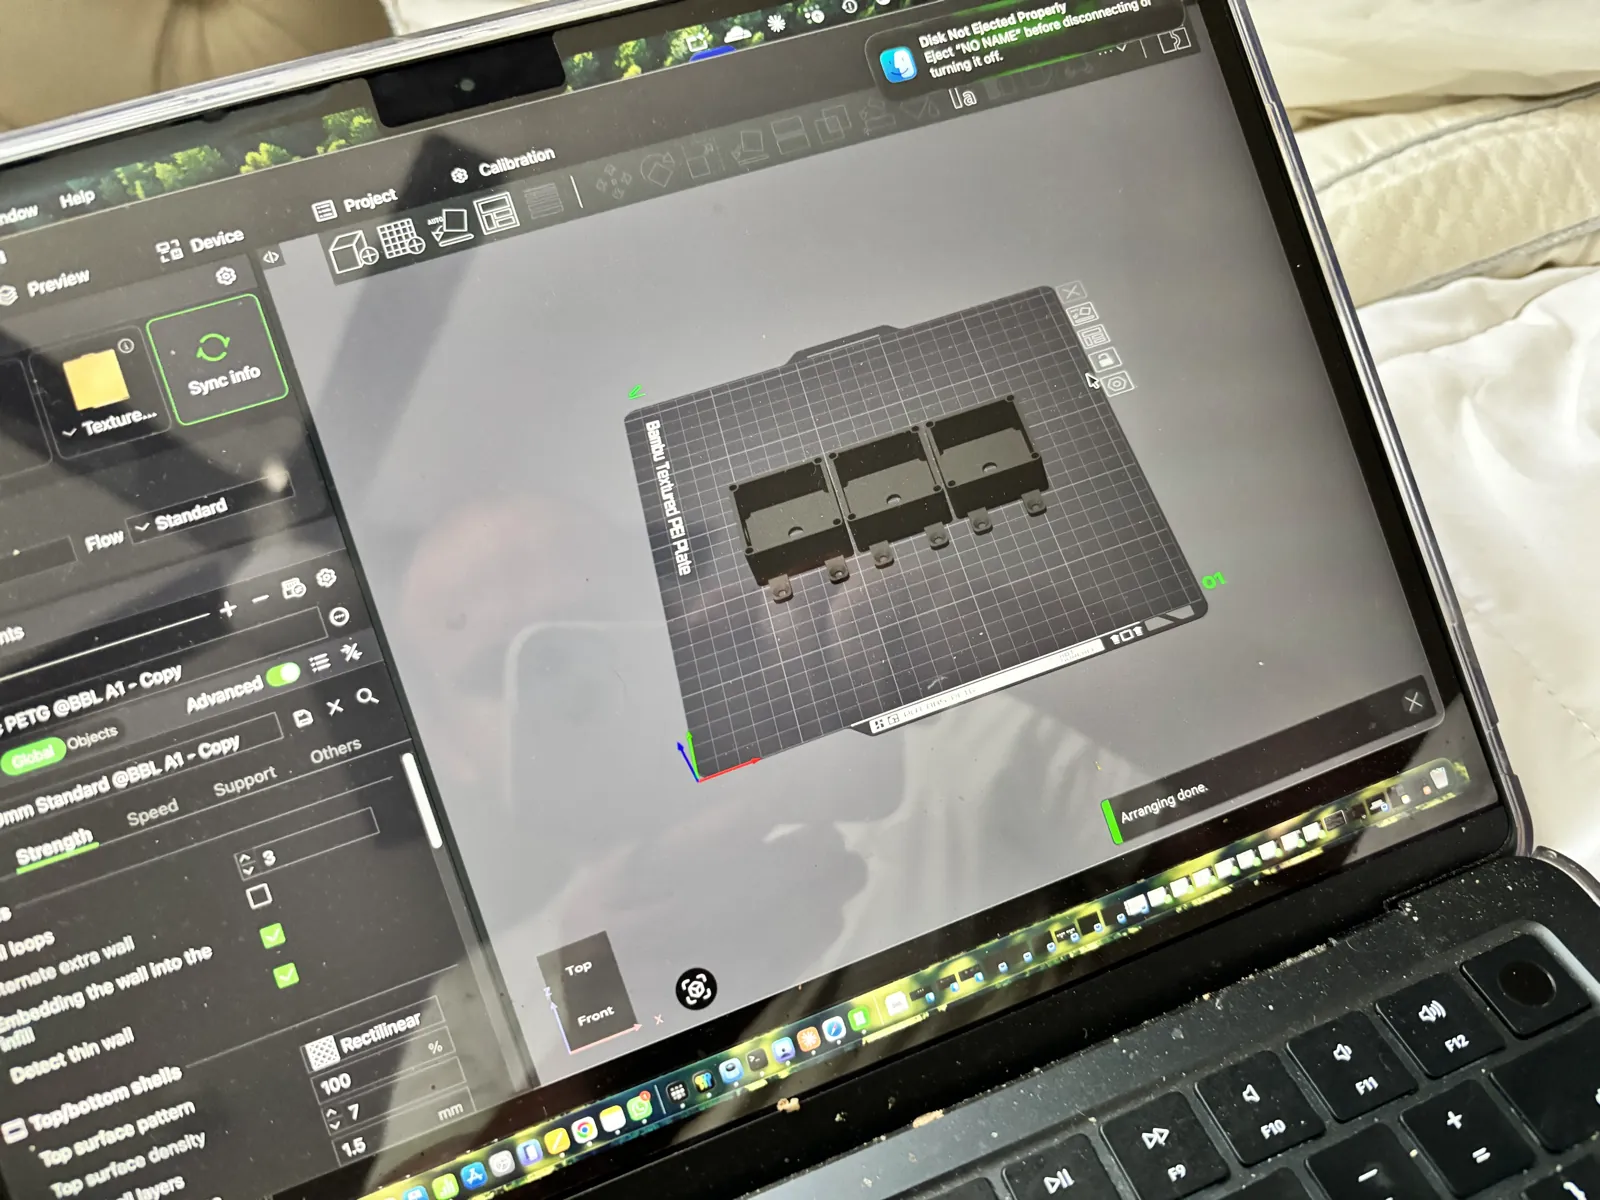
Then I decided to print three of them in Bambu Studio.